Polish Your Home with Top Class Stone Cladding Services
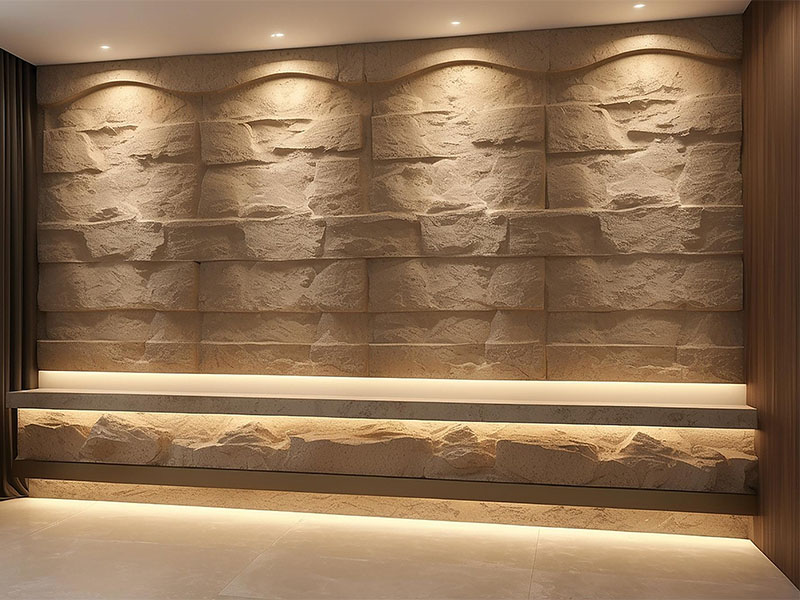
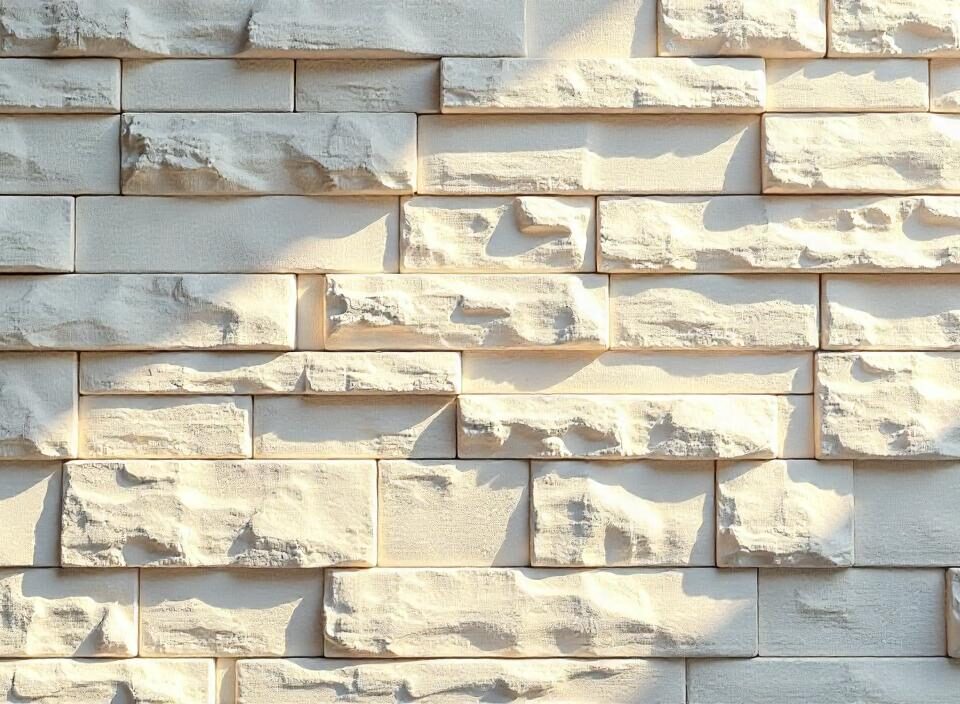
Stone cladding cannot be recommended enough as an effective way of improving the looks of a residential or business building. It makes any wall to be a focal point as it affords the natural look and the texture. Stone working may also be a great undertaking when one is decorating a room, undertaking a redecoration of a room or constructing a home from the ground up. Here’s how to install Stone wall Cladding in Udaipur on a wall, step by step:

Prepare
Preparation should be made in the choice of materials and tools to be used in the project to avoid making frequent runs to the supermarket. Here’s what you will need:
Stone Cladding: Select from several styles and options like natural stone, manufactured stone or even slate.
Adhesive: Select a high quality thin set mortar or stone adhesive that will adequately compliment the type of cladding selected.
Grout: Make sure to choose grout color and its finish to match the stone cladding as closely as possible.
Tools: A trowel, level, a hammer, chisel, measuring tape, sponge and a bucket to mix adhesive and grout will be needed.
Prepare the Wall Surface
The quality of the stone claddering therefore depends on the preparedness of the wall surface. Here’s how to prepare it:
Clean the Surface: Make sure the wall is clean, void of dust, dirt, or grease and completely dry. If there is any old material or paint existing then it should be cleaned up completely.
Repair Any Damages: The next step is all you have to seal any gaps, portholes with an ideal matching filler and wait until it dries.
Apply a Moisture Barrier: If you are doing work in a high humidity area, or doing exterior wall, you may add a moisture barrier to avoid possible water damage.
Measure and Plan
Preliminary and correct measurements play an important role in giving the desired professional look. Here’s how to do it:
Measure the Wall: Stretch a measuring tape down the length of the wall to get its height and sideways width. If you yet have to buy stone pieces, this will assist you to approximate the numbers you are going to require.
Create a Layout: For the stones, the most important step that is done before applying the adhesive is the adjustment of stone positions on the floor surface in order to have a view of the future image. This will enable you to know how you are going to space the joints for better aesthetics to be achieved.
Mark Guidelines: Pull out a level to draw vertical and horizontal lines at the wall preferred height. This will help make sure your stone cladding is done straight and flat.
Apply Adhesive
Once your wall is prepped and your layout is planned, it’s time to apply the adhesive:
Mix the Adhesive: In case you have been advised to use your thin-set mortar or adhesive then remember to mix as per the instructions provided by the manufacturer. A good consistency should therefore be achievable such that it can be easily applied but should not be too watery.
Apply the Adhesive: Apply adhesives to the wall using a trowel that begins at the base to cover a thin layer of adhesive to the wall. Use sufficient adhesive to cover a number of stones at that particular point so that the adhesive does not dry up before the stones are placed.
Install the Stone Cladding
Now comes the exciting part—installing the stone cladding:
Place the Stones: This layout that you had in mind earlier should guide you to press each stone firmly into the adhesive. A level is required to ensure every section is level and aligned with the guidelines as preferred.
Stagger the Joints: When laying the stones to provide a more natural appearance, avoid placing joints side by side end to end in straight vertical rows. It gives a kind of a character to that wall and makes things look deep and attractive.
Continue Upward: Start at the bottom of the wall and use the adhesive as well as the stones you have in a vertical manner till you are through with the wall.
Grouting and Finishing Process
A batch of cement slurry was prepared to graded aggregate and then slowly flooded into the layer while attaching the pipes and pouring the grout When the grout hardened, the finishing touches can begin.
After the stones are installed, it’s time to grout and finish the wall:
Let the Adhesive Set: After applying the adhesive, it should be allowed to dry for between one and three days although this will depend on the manufacturer’s recommendation.
Apply Grout: As it is illustrated above, utilize the grout float to force grout between the stones and guarantee all the space is cleared. After the grout is applied you must make sure to remove the excess grout by wiping a damp sponge over the tiles.
Seal the Surface: After the grout has dried it may be necessary to seal the stone so that it will not absorb moisture or stains.
Conclusion
Even when you just fix stones on the surface of a wall your space can be beautified or given a new value. If you have read the steps and focused all your concentration, you are able to get a perfect outcome. Whether you need to purchase stone material, or require consultation from a professional, you have found The Stone Evolution. Stone products are our area of specialization so clients can be assured of quality work as pertains to their cladding installation.

