Wall Cladding Installation Made Easy: Your Complete How-To Guide
Many people find that they can make great use of wall cladding to accentuate the appearance of the area and as an added barrier against heat, wind and rain. If you happen to be in a situation where you want to give your walls a new look or your house a face lift then professionally installed Stone wall Cladding in Udaipur is among the most enjoyable do it yourself projects you could undertake. So here are the guidelines of how wall cladding can be installed appropriately.

Step 1: Choose Your Cladding Material
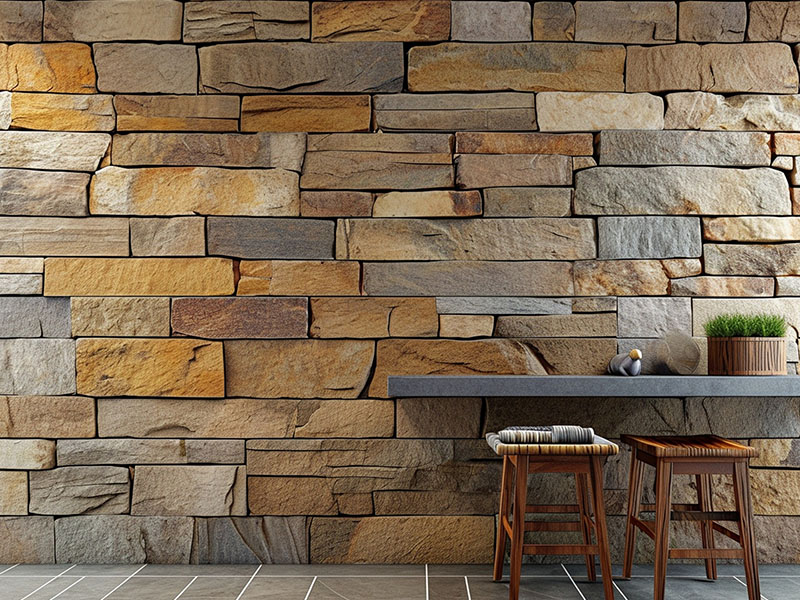
The first thing that people should do when they wish to start carrying out their wall cladding project is to choose the material. They are wood, vinyl, metal, stone and composite material. There is advantage and beauty to each type depending on one’s style preference, durability, and budget. For instance, wooden cladding gives a chic kind of look while the stone cladding give more of the modern touch.
Step 2: Measure the Area
Do the preliminary work right, measure the space where the cladding will be installed very carefully. Tape the distance between the top and the bottom point to help you measure the height, and between the leftmost and the rightmost point in case you want to know the width of the particular section of the wall that you will cover. It’s important not to forget windows, doors and other ornamental items that will not be shrouded by the cladding. To save time and to have a clear pictorial representation of where the wall is divided one should draw a diagram, labeling dimensions on the drawing.
Step 3: Prepare the Wall Surface
Failure to prepare the wall surface correctly will lead to a substandard installation of the floor. In case the surface is dusty, dirty or contains any debris then wipe off very well. When installing cladding to an exterior wall, there are some things that you should always look out for on the wall. Make sure the wall is free from cracks, holes, the wall is well dried to prevent growth of molds before proceeding. In interior spaces you can work from existing walls or you might have to strip off wall finishes such as papering or painting to install the cladding.
Step 4: Gather Tools and Materials
Get all the necessary tools and items needed in the cladding project before commencing its installation process. Common tools required include:
- Tape measure
- Level
- Circular saw or hand saw
- Drill
- Hammer
- Nails or screws
- As adhesive if needed dependent on the nature of the material.
- Safety gear (gloves, goggles)
Make sure you can get more than enough cladding panels for the project at hand and order slightly more than you need since you might make some measurement errors.
Step 5: Install the First Row
The first row of cladding begins in the ground floor, at the bottom most portion of the wall. Make sure that a level is straight. You have the opportunity to fasten wooden or vinyl cladding in a way that involves the direct fixing on the wall, with the help of nails or screws. Depending on the kind of panel and where it will be installed, it may be necessary to include an adhesive which will fix the stone or other heavyweight materials in place.
Okay, position the panels closely so that you leave room for expansion as recommended by the manufacturer. Make sure the first row starts out level as this will set up the entire installation.
Step 6: Continue Installing Panels
Proceed with fitting the last subsequent rows of cladding on an ongoing basis so that they are above one another as per the material used. For example if on the installation of the tongue and groove panels, join the grooves of one panel to the tongue of the next. This will make the rows look less uniform and will also make the seams stronger in the formulated installation.
A level is used frequently to verify your progress and should be done the higher up the wall you get. In case of sockets like outlets or switches make sure the cladding is cut in such a way to cover them perfectly.
Step 7 : Finishing Touches
The final step is executing after all the panels of needed size and shape have been installed. Cut off any additional material and using trim or molding put it over the edges to make it neat. It is also possible to apply paint or stain on your cladding, this depends on the type of cladding material and the preferred color.
Step 8: Maintain Your Cladding
This means that the wall cladding will always look great in its appearance when you conduct normal maintenance procedures on it. This may imply time to clean it, repaint it or apply sealants in cases where the material of construction requires so.
Conclusion
Applying wall cladding can act as a face lift to your room, and even increase the value of your house. As with any craft project, given the right tools and due diligence, the finished product looks as if it was done by a professional. If you are in search of superior quality stone cladding materials to add elegance to your project then, The Stone Evolution should be your next choice for a home improvement project. They have various products available and pay much attention to making sure that your installation process is smooth.

