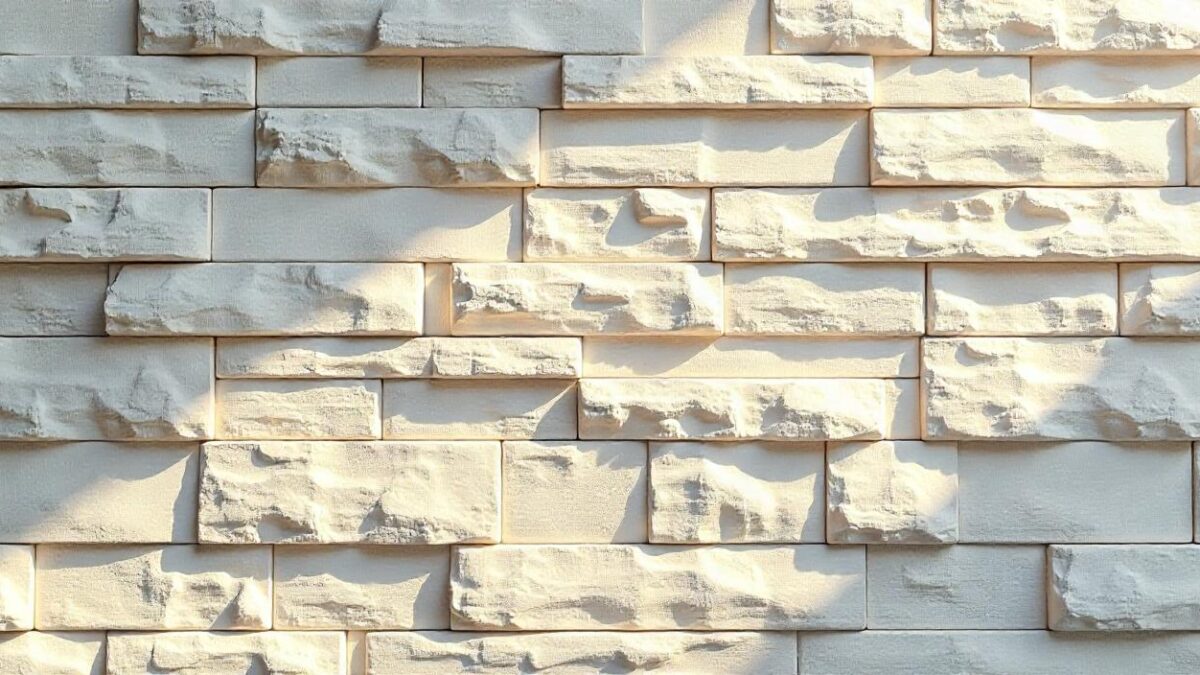
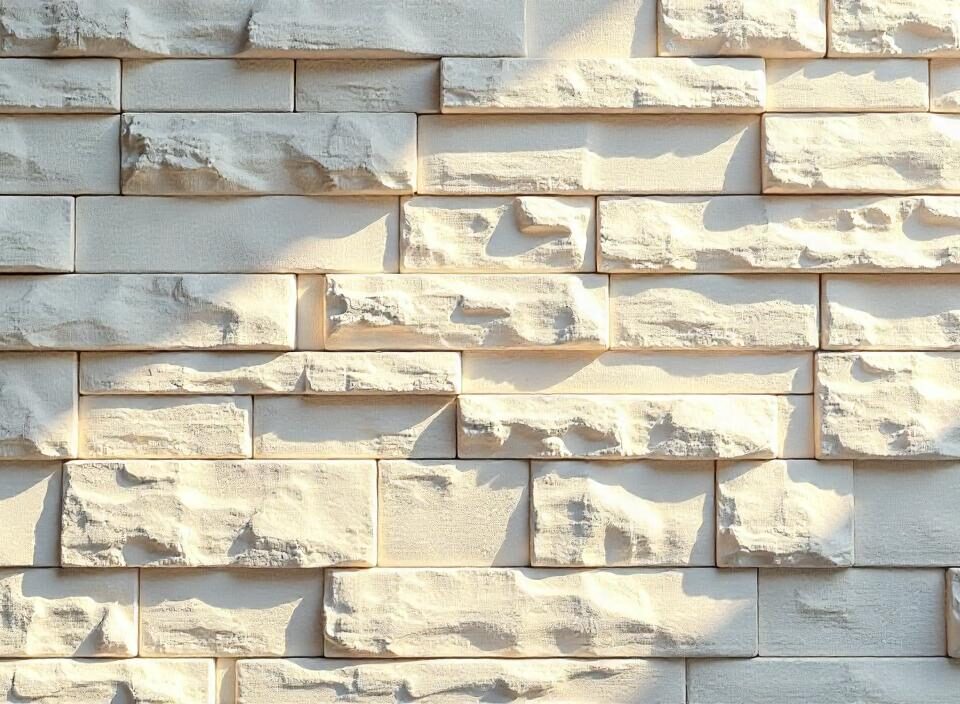
Inside or out, stone walls are a fantastic way to add character, texture and warmth to your home. Stone Wall Cladding can be used whether you are looking to add character to an internal wall or construct a landmark outdoor feature. Installation can be a bit daunting at first but if you have the right tools, materials and are well prepared then its actually quite easy to do. By following this detailed guide you can now learn more about installing Stone Wall Cladding.
The following Materials and Tools are needed:
- Stone cladding panels or individual stones: Natural stone or manufactured stone veneer is dependent on the design and look you are looking for.
- Mortar or adhesive: Certain adhesives have been designed for use with stone cladding and the stones will stick securely to the wall.
- Trowel: For filing mortar or adhesive.
- Level: Guarantees that your stone pieces lay uniformly.
- Tile spacers: They can keep gaps even between stone pieces.
- Measuring tape: To place and measure accurately.
- Grout: Placed in between the stone pieces when used.
- Angle grinder or stone saw: For cutting stones into such shapes as to fit around edges or corners.
- Wire brush: Cleaning the surface before the installation.
- Sealant: It is polished to protect the stone.
Step 1: Prepare the Surface
The first and most important thing is to get the surface ready where you want to put the stone cladding off. The wall should be clean, dry and free of dust, dirt, or grease. For an exterior wall install, there needs to be a waterproof barrier, such as cement backer board, to protect what’s underneath the structure.
The surface of the wall may need a scratch coat if porous or uneven on interior walls. The mortar bonds better to the wall with a scratch coat. Just layer a thin mortar layer over the surface and use a trowel to drag lines through this wet mortar. Wait until the scratch coat is dry and continue.
Step 2: Lay Out Your Stone Pattern
Lay out the stone pieces on the ground before adhering the stone to the wall. With this step, you can see what your design will look like and make any changes to the stones to give you a more natural and beautified pattern. The size of each piece of stone will vary, so you’ll want to mix up the size of pieces and the colors of stones to provide a balanced look.
If you are bonding stone cladding panels, guarantee the seams between the panels are not in a straight vertical line. This will make the installation look less in your face and be more natural.
Step 3: Apply the Adhesive
After you’re happy with the layout, apply the adhesive or mortar to the wall, using a trowel. You have to work in sections as the glue will dry quickly. Maximum adhesion is achieved by applying the adhesive directly to the wall and direct to the back of the stone piece. Beware of any gaps or air pockets in the adhesive so be sure to spread the adhesive evenly.
Step 4: Place the Stone Cladding
Press each stone piece onto the adhesive coated wall, pressing firmly until it sticks. First work from underneath and build up, making sure the stones are level as you do so. But you should check both horizontal and vertical alignments very frequently with a level tool. If you have tile spacers use them between stones to keep the gaps even.
Irregular shaped stones may require some trimming off to make the stones fit in corners or edges. You can make very precise cuts with an angle grinder or with a stone saw.
Step 5: Fill the Gaps with Grout
After the stone cladding is installed, and after the adhesive has set (typically the times given by the adhesive manufacturer), grout the gaps between the stones. Carefully fill in the gaps using a grout bag, or a trowel. With a damp sponge make sure to remove any excess grout that spills onto the surface of the stones.
Step the grout dry for at least 24 hours, after that we can continue with the next step.
Step 6: Seal the Stone Cladding
Sealing your stone cladding is not a requirement, but it may protect the stone and could increase the beauty of the stone. Apply an even coat of a high–quality stone surface sealant. It will prevent moisture, dirt, and stains from getting into the stone, and making it look nice for years to come.
The stone can even be given a slightly glossy finish when sealed, which sometimes brings out color and texture better especially where the stone is subject to the elements or is in high traffic areas.
Step 7: Inspect and Clean
Once it is all dry and set, take a look over the stone cladding for fine imperfections, loose pieces and too much grout. Scrub remnant grout, or dirt, from the surface with a wire brush or some type of soft cloth. Make sure that all stones are pressed together tightly and that the grout has dried out evenly.
Conclusion
If you’re looking for a relatively simple DIY project to transform any space into a stunning focal point, stone wall cladding is a phenomenal option. Follow these steps and use the right tools and you can make a gorgeous, long lasting feature wall. It adds natural elegance and beauty to the outdoors, no matter if indoors or outdoors, stone cladding cannot be replaced with any other material.
If you need high quality stone cladding or expert advice, try The Stone Evolution , a firm well known in the industry. They have a wide variety of stone products to assist you with achieving the perfect look for your space.


