A Complete Guide to Stone Wall Cladding Repairs and Enhancements in Udaipur
Wall cladding does not only provide your space with the aesthetics of the exterior or interior walls but also protects them. Revising or correcting Stone wall Cladding in Udaipur can be done for aesthetic purposes or to repair the damage done and it is very easy to do it. This guide details in a step-by-step manner how to repair wall cladding from preparation to having a well finished, strong and good looking wall.

Types of Wall Cladding
However, when one wants to embark on fixing, one has to understand that there are different types of cladding and the way to go about fixing them may take slightly different approaches. The most common types of wall cladding include:
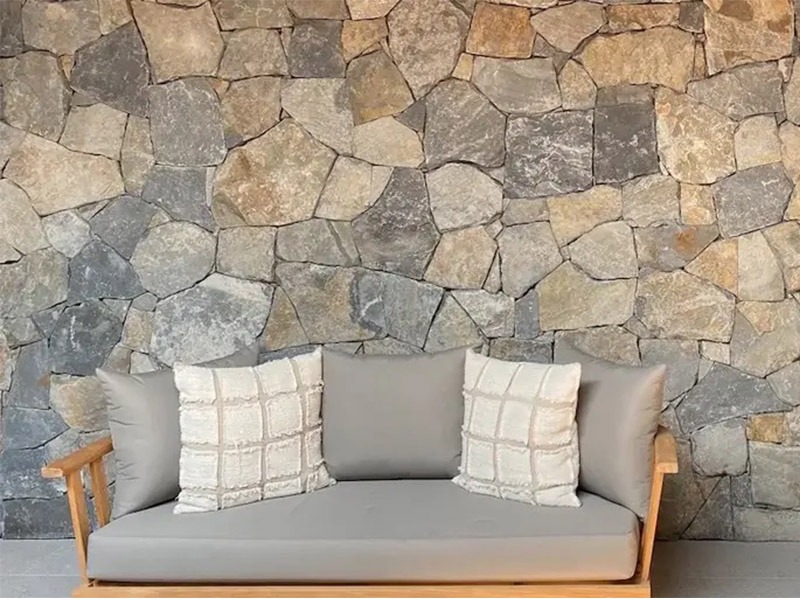
Stone cladding: Large flat stone blocks that are bonded to the wall surface for a rough and stone like effect.
Wooden cladding: Wooden panels introduced to exterior walls enhance the beauty of the building.
Vinyl cladding : Well known for its toughness and ease in maintenance and also with its divisions and shades.
Metal cladding: Most employed in industrial type constructions and offers a state of the art feel.
Brick cladding: It imitates the weight and ter604 carpentry solid brick wall but it is flexible, easy to work with and much lighter.
Tools and Materials Required
When you are ready to begin with your cladding you should assemble all the relevant equipment you will need. These may vary depending on the type of cladding material you're working with, but generally, you’ll need:
- Cladding panels
- Cement or paste (as the case with the type of cladding to be used).
- Nails, screws, or anchors
- Measuring tape
- Spirit level
- Hazards guards (gloves, eye protection etc.).
- Hammer or drill
- Trowel (if using mortar)
- Sealant – only needed if the area needs to be made waterproof.
A Wall cladding panel system is an elaborate part of most building’s exterior walls, and as a combination of several elements working together, it can also pose significant problems if one or more of these components fail.
-
Preparation
Begin by ensuring you have the surface you would wish to clad ready to receive the treatment. It is also valuable for getting a long-term and stable installation of the home security systems.
Clean the wall surface: Cleans the wall by brushing off all dirt, grease or paint layer in the wall using a wire brush or sandpaper. As any skilled workman knows, a clean surface is necessary for the right degrees of adherence.
Check for damage: The most important measure that should be undertaken to minimize noise is to address any crack or hole in the wall. For small cracks you can use filler while for the larger holes you can use cement based patch.
Level the surface: When you have irregular walls, use the render and smoothen the wall so that the render will stick. This makes some areas to lack adhesion and also makes the work done not to look professional at all.
Measure and mark: Get your measuring tape to measure the area that you intend to clad. Identify specific locations where panel cladding will be mounted, making certain that distances between each are the same.
-
Fixing the Cladding
It is impossible to overlook that the method of fixing the cladding depends upon the type of material used, however, the basic steps are the same.
Dry fit the panels: As a preliminary to apply the adhesive or nails, conduct a trial of the panels to view whether they stand accurately and the way in which they join is correct. These will assist you to determine whether corrections are necessary before the fixing process becomes permanent.
Apply adhesive (for stone or vinyl cladding): When installing stone or vinyl cladding, attach a proper adhesive on the back part of the panel. Apply it uniformly with help of a notched trowel and then embed the panel well onto the wall. Go down and up from that.
Secure with screws or nails (for wooden or metal cladding): In case of wooden or metal cladding the panels must be fixed and screwed or nailed properly. Employ corrosion resistant fasteners in commercial construction to avoid formation of rust whereby the product may not last long. Once again the top left corner of the panel and start from the bottom and work your way up using spirit level to check that it is straight.
Mortar fixing (for brick cladding): In brick cladding, use mortar and apply it at the back of each brick panel and sandwich it on the wall strongly. Important thing is to ensure equal space between the laid bricks by using spacers which will be used also for filling the mortar.
-
Sealing and Finishing
After fixing the cladding look for gaps or uneven areas of the surface of the building from cladding to cladding. Sometimes you will see areas where the cladding is not tightly fixed and you will have to add more adhesive or screws.
Seal the edges: For exterior cladding, use a protective sealer on the edges of the cladding especially to avoid damage by moisture or extreme conditions. This step is especially used to electrums to stone, vinyl and wooden claddings because they tend to be sensitive to change in temperatures.
Finish with grout (for brick or stone cladding): Once the mortar has set apply grout between the brick or stone panels using a trowel. This sets out to fill any void and to reinforce pillars.
Common Mistakes to Avoid
Skipping the surface preparation: Wall needs to be clean and special if there is any damage repair it before fixing the cladding. If the surface preparation process is done poorly then you are going to have issues with bond strength and even damage in the future.
Incorrect spacing: Make sure that all spacers expand outward and also that all cladding panels are straight and evenly spaced. Seriously it can distort the whole look and feel of a structure and even cause future problems that require repair works.
Using the wrong adhesive or fasteners: Various cladding system materials need appropriate adhesive or mechanical fastening. Ice forming on the wrong screwed kind can hamper the adhesion, or rusted screws, do not be surprised to see the structure of cladding suffering from the same fate.
Maintenance Tips
So for the proper performance and aesthetic value, it is crucial to maintain the wall cladding properly. Here are a few tips to help:
Clean regularly: This means that the cladding should be cleaned occasionally so that it does not accumulation dirt or mold if the material used is sufficiently porous. :Stone and bricks with them may be washed with the help of a mild detergent and water solution, but the same cannot be said for vinylит, which would need a power wash.
Inspect for damage: Look for signs that the panels are loose, if there are any cracks or if they have suffered from water damage. Some of these problems should be addressed as soon as possible to avoid being compounded.
Reapply sealant: If you have utilized a kind of sealant that is weatherproof, then it is advisable to reapply on the surfaces, after a period of three or fours years.
Conclusion
The process of fixing the wall cladding is not complicated if the right procedures are followed to the latter and more importantly one should not be in a rush. All the process requires time to be involved. Thus, proper surface preparation, proper fixing methodology, and appropriate spacing will enable you to come up with a good finish to make your space look more attractive and look as long as possible as intended.
Regarding the best wall cladding services, you may consider checking out The Stone Evolution wherein you can find a wide array of products that can both complement the interior and exterior walls’ appearance and performance.

