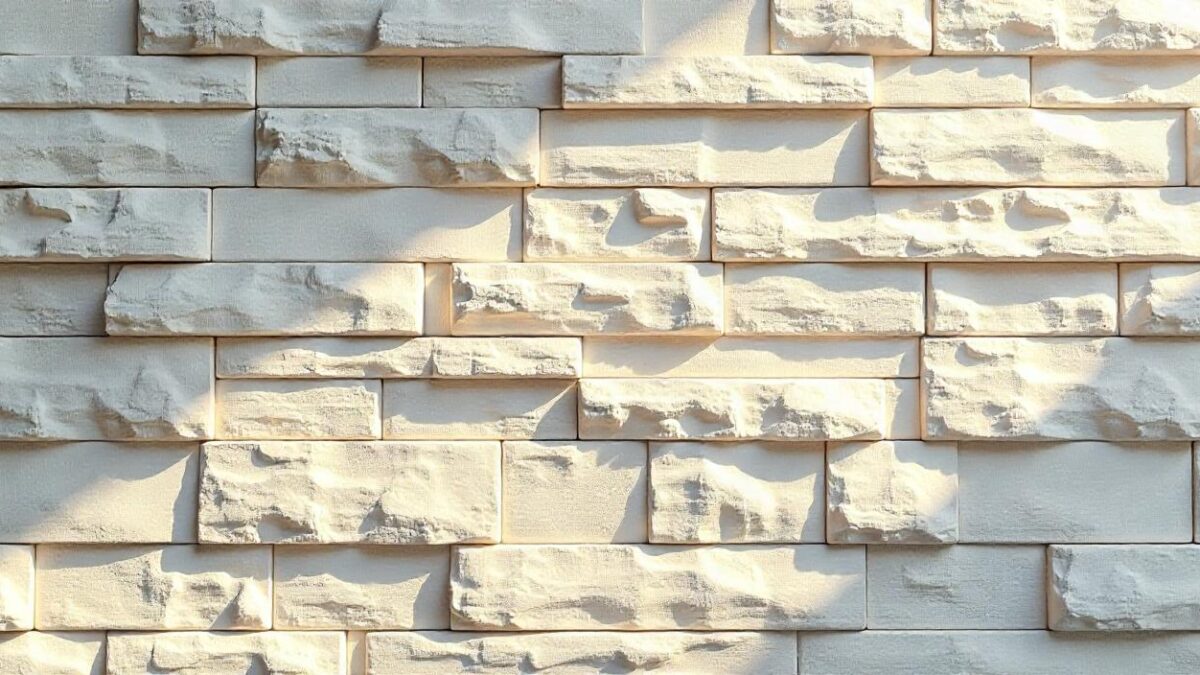
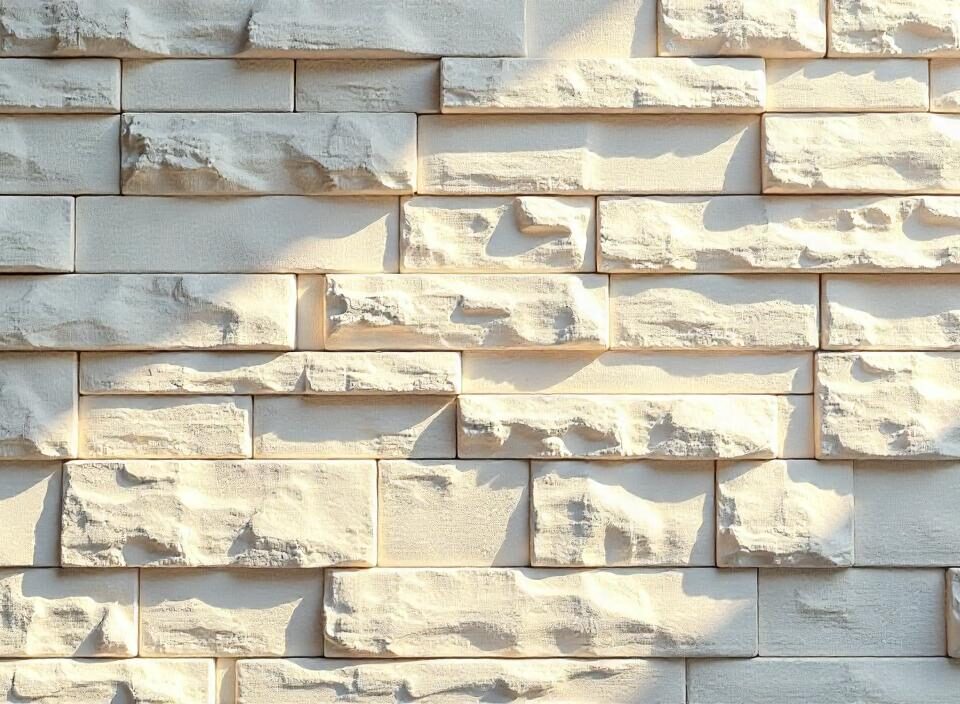
One of the most popular uses of construction techniques cladding is a method of improving the functionality and also making the wall construction aesthetically attractive. It is about the addition of a layer of material on the outside or inside of a building, for example stone, wood, metal, or vinyl, where stone wall Cladding in Udaipur is not only an adornment but also an insulation barrier, protective from weather elements and reduces maintenance costs. In this guide, we will cover step by step how to clad walls, from preparing to closing up.
Step 1: The Cladding Material You Chose Is Very Much Important
The most important, if not the first, step in the cladding process is choosing its material. Several factors such as climate, building style, and durability requirements determine the choice of the material. Common cladding materials include:
- Stone: Has a natural, timeless appearance and is incredibly durable.
- Wood: A warm and traditional look, but when it’s hot outside it needs regular maintenance.
- Vinyl: A cost-effective option, lightweight, and doesn’t need a lot of maintenance.
- Metal: Modern, durable, and weather-resistant aluminum and steel cladding are typical.
First of all, it’s important to talk to professionals or do some research to determine the best solutions for our particular case. On the cost, the longevity, and the lifelong maintenance, each material has pros and cons to be taken into account.
Step 2: Preparing the Wall Surface
If a contractor wishes to clad your wall, the surface of the wall needs preparation before the cladding can start. It makes sure the cladding will stick properly and keep going for years to come. Here's how preparation is typically done:
- Clean the Surface: The cladding simply will not stick to dirt, grime, and old paint, so the wall surface needs to be thoroughly cleaned. The next option is to pressure wash or scrub with detergent.
- Repair Cracks and Damages: Cracks, holes, or damage to the wall should be repaired. It is essential for aesthetic and functional reasons of the cladding.
- Level the Surface: It has to be level and even. Cladding spread unevenly can create holes in the cladding and will ruin the appearance, just as it will leave gaps around walls that need to be weatherproofed. It can be done by applying a leveling compound or adjusting the base.
Step 3: Installing a Weather Barrier
The cladding process has a weather-resistant barrier as an important part of the process, especially in the case of walls that are exterior. This layer prevents the building from moisture and water damage. Usually, before cladding actually starts, a house wrap or vapor barrier goes onto the wall. The beauty of this barrier is that it helps prevent rainwater from seeping into the structure of the building and can also help increase insulation, decreasing costs of heating or cooling.
Step 4: The Battens (or Support Structure)
This is the support structure which supports the brimming basketwork. After the weather barrier is attached, battens or a support structure must be added. Horizontal strips or vertical batten wood or metal strips are fixed to the wall. Frameworks they are, supporting the cladding material. The spacing of the battens is determined by the material to be used for cladding, and it is to be fastened securely for adequate support.
A metal frame or cement base may be preferred and required for a more robust support structure to support stone or brick cladding. The battens or framework aid in sectional ventilation and moisture management and also create an air gap between the cladding and the wall.
Step 5: Finally, We Installed the Cladding Panels
Once in place, the battens then allow you to install the cladding panels. The installation process will vary depending on the material, but here are the general steps:
- Starting at the Bottom: Typically cladding begins at the bottom of a wall and works up. This ensures that each new layer overlaps the layer below it, ensuring better water runoff and a cleaner look.
- Fixing the Panels: The material itself is fixed to the battens using screws, nails, or adhesive. Mortar may hold stone or brick cladding in place by securing each piece.
- Maintaining Consistent Spacing: A uniform look is important and will be achieved if there is uniform spacing between the cladding panels. Small gaps, for example, may be needed in some materials—such as vinyl or metal—which expand or contract with temperature changes.
Step 6: Sealing and Finishing
The last step is sealing and finishing, after which the cladding is installed. It’s important to waterproof seal the joints and edges of the cladding to prevent moisture from getting behind the cladding. This may additionally have to be stained, painted, or treated against weather and UV damage if the material is wood.
Cladding can be produced in a multitude of shapes and so may have edges and corners decorated or trimmed to give them a finished, polished look. This step makes the cladding functionally better and visually more appealing.
Conclusion
Cladding is one of the best ways to add a bit more to the look and use of the building and shields it from the elements. However, having the cladding installed in the proper way is essential to ensure you get the promised benefits from it and for it to last you years. Choosing the appropriate material, building the wall up, installing the support structure, and finishing with seals and trims all require a lot of attention to be brought to complete a successful result.
If you’re looking to clad your walls with stone or any other material, then you will benefit hugely from professional guidance. Dealing with an experienced contractor is helpful because it will ensure that the job is done right the first time, saving you both time and money, and eliminating potential future issues.
The Stone Evolution offers a variety of materials and expertise as premium quality wall cladding solutions to make your space durable yet stylish.
Bulk Bags Manufacturers USA

