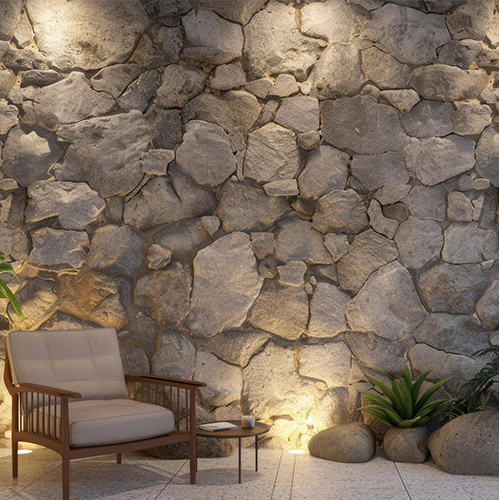
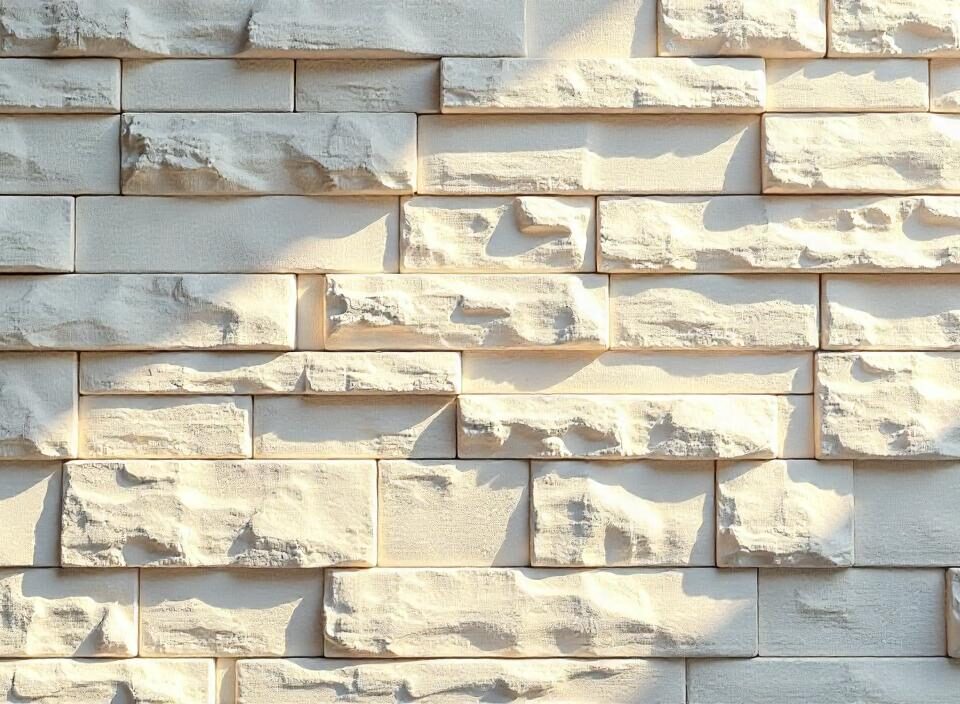
In recent years, vitrified tiles have become very popular especially for wall cladding. They are durable, aesthetically pleasing, and low maintenance, making them an ideal choice for residential and commercial spaces. One of the largest advantages of vitrified tiles is their large size, which looks appealing and creates a seamless appearance when applied on walls. In this article, we will explain how to fix large-sized vitrified tiles in stone wall cladding in Udaipur, from preparation and installation to maintenance.
Vitrified tiles make excellent wall cladding or wall paneling on a single surface—which we will discuss in this article.
Large-Sized Vitrified Tiles Offer Several Benefits for Wall Cladding:
- Aesthetic Appeal: Their large surface area reduces grout lines, creating a clean and contemporary look on walls. This can make a space appear more spacious.
- Durability: Vitrified tiles are scratch, stain, and moisture resistant, making them ideal for spaces with high wear and tear, such as kitchens and bathrooms.
- Ease of Maintenance: Non-porous vitrified tiles are easy to clean and resistant to stains and water absorption. A damp cloth is usually enough to keep them looking new.
- Versatility: These tiles come in various colors, patterns, and finishes, giving homeowners and designers flexibility to match their interior designs.
How to Prepare the Wall for Installation
Proper wall preparation is essential before fixing large-sized vitrified tiles. Follow these steps:
- Surface Inspection: Check for cracks, dampness, or loose plaster. Fix any damages and ensure the surface is clean and dry.
- Leveling the Wall: Use a leveling tool to ensure the wall is flat. Correct uneven areas for smooth tile application.
- Marking Reference Lines: Mark reference lines on the wall for symmetrical tile layout. This will guide the installation process and ensure alignment.
- Choosing the Right Adhesive: Select a high-quality tile adhesive suitable for vitrified tiles. It should be flexible enough to withstand normal wall movement.
Installation Process
Follow these steps to install large vitrified tiles:
- Applying the Adhesive: Spread adhesive on the wall using a notched trowel. Use larger notches for bigger tiles to provide adequate support.
- Placing the Tiles: Start from the bottom corner of the wall. Press each tile firmly into the adhesive and align it using a level. Adjust as needed.
- Grouting: Once the adhesive cures, apply grout to the joints. Smooth the grout and clean excess with a damp sponge.
- Sealing: Depending on the grout type, apply a sealer to prevent moisture penetration and staining. Follow the manufacturer’s instructions.
Maintenance Tips
Regular maintenance is crucial to keep large vitrified tiles looking their best:
- Routine Cleaning: Prevent dirt buildup by dusting and wiping tiles with a damp cloth. Avoid harsh chemicals that can damage the surface.
- Addressing Stains: While vitrified tiles are stain-resistant, use a mild detergent or tile cleaner for any stains. Test cleaning solutions in inconspicuous areas first.
- Periodic Sealing: If grout is not pre-sealed, apply a grout sealer every few years to enhance durability and appearance.
Conclusion
Vitrified tiles are an excellent choice for wall cladding due to their durability, low maintenance, and aesthetic appeal. Proper wall preparation, quality materials, and correct installation techniques can help homeowners achieve stunning results. These versatile tiles offer endless creative design possibilities. Companies like The Stone Evolution provide professional advice and high-quality products to ensure project success.


