Our Expert Tips on Specifying Facade Cladding for Your Home
Finishing up an outer wall is the best practice if you want to improve the look of your house in addition to improving its insulation from the weather. Whether the need is to enhance the exterior of the house, work on the insulation or provide it with a better sales value, Stone wall Cladding in Udaipur may be worth the price. Here is a guide that will help one clad an exterior wall:

Choose the Right Material
When preparing for cladding you will need to start with choosing the right material to use in the process. Common cladding materials include:
Wood: Has a more natural appearance and can be sanded and coated to any hue of paint or stain imaginable. Proper woods have to be used for this area of the house to resist decaying which means that only cedar or redwood may be used.
Vinyl: Another type of roofing material that offers little care throughout the year and is available in different styles and coloured finishes. It has a durability factor, which makes it difficult to fade and does not have to be painted so makes it easier for most homeowners.
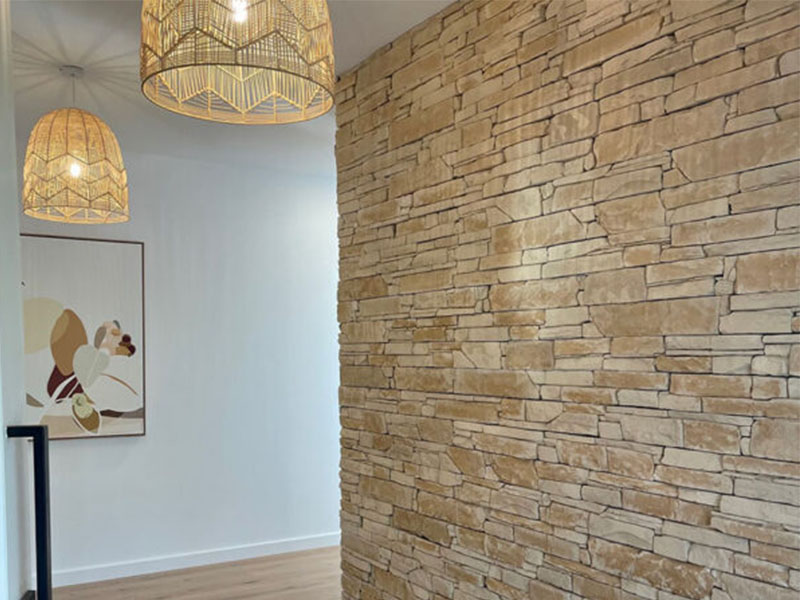
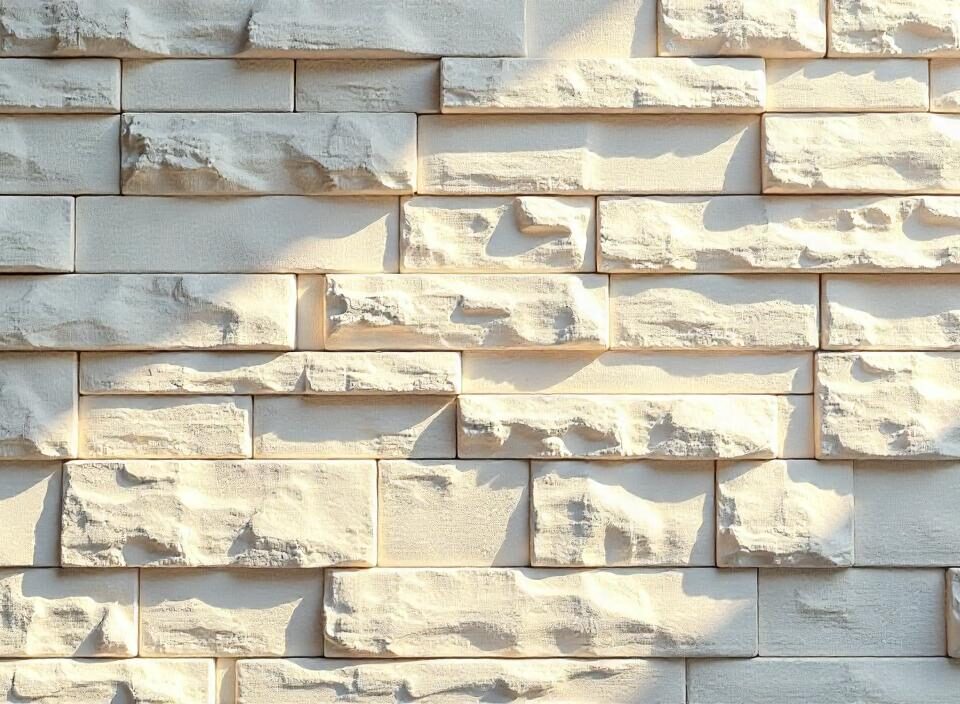
Brick or Stone: Provides a traditional and hard wearing surface. Although such materials can be relatively costly, they provide good insulation, which raises the value of the house.
Metal: Aluminum ones are preferably suitable for contemporary styles, while steel ones will help to create an industrial atmosphere. Main form of metal cladding is sturdy and fire retardant and can be used in a given climatic region.
Composite: Available from fibre boards and recycled plastics, composite cladding is primarily used as a wooden look-alike with the added advantages of robustness and ease of maintenance.
Prepare the Wall
But before we start with the process of installation, you have to make sure that the wall is ready for the chosen cladding material. First of all, one should check the condition of the wall where the treatment is going to be applied: whether there are any cracks, and if there is mold. Do not hide problems because cladding will not fix those problems, so fix any problems.
Subsequently there is a need to tidy up the area and get rid of every trace of dust and other particles, and paint that has blisters. Thus, if you have something applied to your wall, such as cladding or paint, chances are you will have to strip it off so as to have a proper surface on which to work in.
Install a Moisture Barrier
In order to prevent moisture penetration into the house, using a moisture barrier is more than advisable. This must be done with the house wrap or some other similar material. Make certain linear runs of the Moisture Barrier are joined perpendicular to each other with overlaps and fastenings. Prevents water penetration into the wall and it reduces the possibility of mold formation and weakening of the walls.
Add Furring Strips
Furring strips provide structure for attaching the cladding and have an added feature of insulation. Fix such strips in the vertical position or in the horizontal position depending on which type of cladding material has been selected. The strips are quite critical for support of the weight of cladding; therefore, it is important to ensure that they are properly spaced and well fixed.
Cut and Fit the Cladding
During the installation, decide on the size of the cladding piece and then cut it according to the size of the wall. Just make absolutely certain that you are leaving room for expansion gaps, especially if the product that is being expanded is wood or vinyl. For applied bricks or stones, use dry methods to build up the brick or stones in order to establish the right fit for proper look.
Install the Cladding
It is said to start at the lowest level and progress up. If you are working on the horizontal cladding then start from the first row of the wall by making it level. It is fixed using screws, nails or glue, depending on the type of material used to make the pieces. Check how close each piece lays to the other piece, there should be no space in between.
For vertical cladding start at the corner of the wall and then move across horizontally. Level each piece in order to make sure that it is perpendicular to the other piece. This must be done until the wall is covered with the iron sheet.
Finish and Seal
In fact, when all the cladding is on, check the interface from the adjacent pieces and the corners for openings or different surfaces. Occupy these with caulk or sealant to have an increased layer of protection against moisture. If you used timber or any composite material for this then you should probably apply a good varnish or paint or polyurethane coat to give it a better look and make it more weather resistant if it will be placed outdoors.
Maintenance
The surface of the first cladded exterior requires frequent cleaning to prevent early signs of disintegration. Specifically, irregular refinishing for woods is required to prevent moisture and UV effects. You can use a hose to wash the vinyl and sometimes it only takes a diluted detergent to clean the brick and stone; sometimes it will require pressure washing to eliminate dirt and algae.
Conclusion
External wall cladding will definitely and optionally improve your home looks and protect it from various sorts of damage. All the same, with proper material and method, you can be able to produce a very neat looking and durable home. If you’re considering this upgrade, it is important to note that installation and maintenance are two primary factors that can determine how much of a return you can get from your cladding. To go through a comprehensive list of highly recommended stone claddings, you can get in touch with The Stone Evolution.

