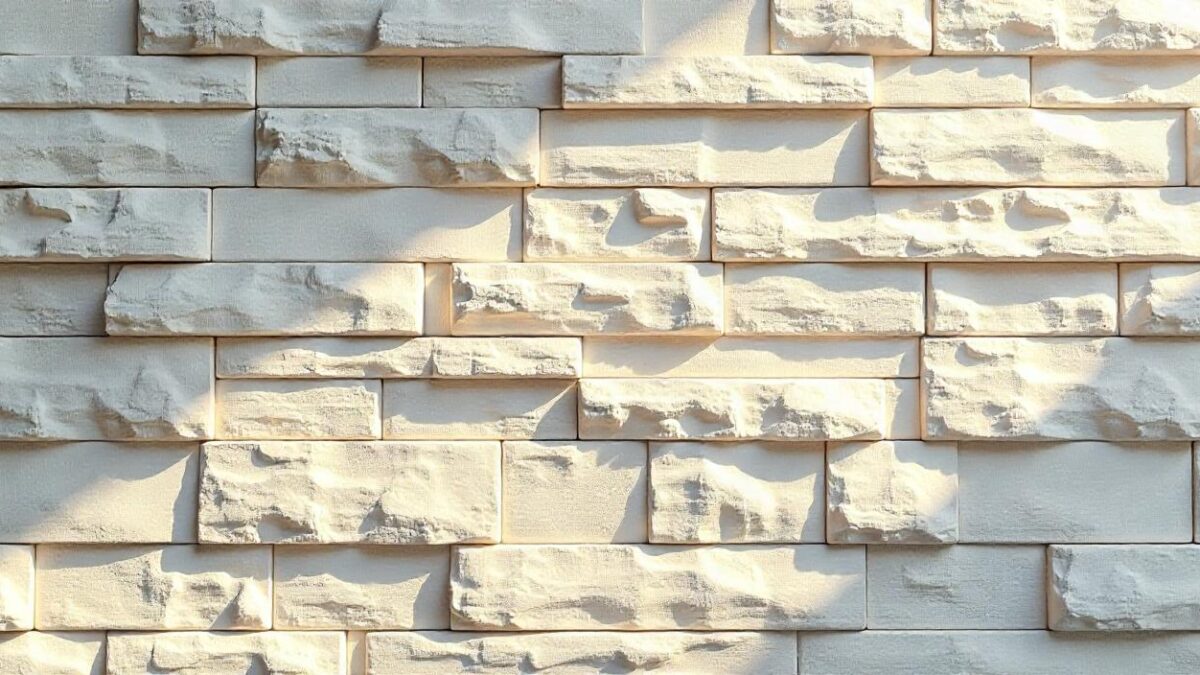
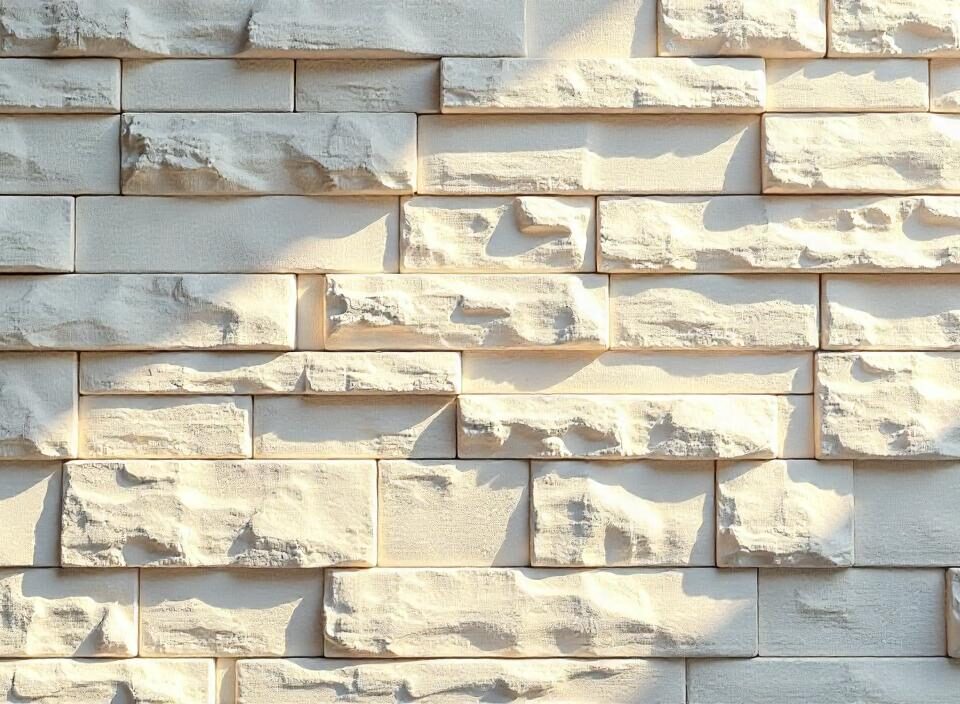
Stone cladding has the tendency to improve both interior and exterior wall appearance. Stone's natural beauty makes for a timeless, elegant and versatile look that works in all manner of architectural styles. Whether you need to bring some rustic style to your living room or add some curb appeal to the exterior of your home, Stone Wall Cladding will definitely bring these eyes blinking for more. This guide will take you through the steps of how to put stone cladding on a wall.
Materials You’ll Need
Before you start the installation, remember to gather the right materials and tools. Here’s what you’ll need:
- Natural or man-made stone cladding panels
- Concrete-based adhesive or mortar
- Notched trowel
- Level
- Measuring tape
- Wet saw (for cutting stone)
- Brush (to clean the surface)
- Sponge and a bucket (for water cleanup)
- Whatever type of joint sealant or grout you have (optional)
Step 1: Prepare the Wall Surface
First of all, you have to prepare the wall surface. The wall surface should be clean, of sound structural integrity, and dry. If you’re cladding an interior wall, then any old wallpaper, paint, or debris needs to be 100 percent removed. For exterior walls, the surface should be clean of dirt and dust.
Repair using a suitable filler if the wall is uneven or damaged. In certain circumstances, especially on the external walls, you should apply a waterproof membrane or primer for the stone cladding to stick properly without any damp issues.
Step 2: Plan Your Layout
Secondly, you should design the layout of your stone cladding. If you are using natural stone, each piece may be a different size and shape, so dry lay the stones on the ground to see how they will fit together. It will help you identify which stones need trimming and will prevent you from taking awkward cuts or seams in your visible areas.
To plan out your layout, you want to start from the bottom and work up. Also, as with brickwork, it is a good idea to stagger the joints for a more natural look.
Step 3: Mix the Adhesive or Mortar
Combine your cement-based adhesive or mortar as per the manufacturer's instructions. The right consistency is very important (not too thick or too runny). In order for the stone cladding to stay where it belongs for the long term, it is essential to use the right adhesive.
If you’re working in extreme weather conditions, also be sure to follow the manufacturer’s recommendations for the adhesive. Other types may harden too quickly in the heat or not harden enough in freezing temperatures.
Step 4: Apply Adhesive to the Wall
Get a notched trowel and apply adhesive in small sections to the wall. To prevent the adhesive from drying before you can press the stones onto it, work in sections that you can complete in 20–30 minutes.
Use the adhesive and apply it evenly to the wall, making adequate contact between the wall and the stone cladding. The adhesive may also be applied to the back of each stone for thicker stone panels, for additional grip.
Step 5: Install the Stone Cladding
From the bottom, start to press the stone cladding in place. The stones should be lined up with the aid of a level. After you’ve put a few stones in and you’re sure the pattern is going the way you want, step back.
Trim pieces as needed on an irregularly shaped stone with a grinder or wet saw to fill in gaps or some edges. Don’t be in a hurry; it’s really important to take your time with this so that your result is more professional.
Step 6: Grouting (Optional)
You may need to grout the joints between the stones, depending on which type of stone cladding you’re using. Because grout helps cover up those gaps, it makes the wall look more cohesive and finished. If you decide to go with grout, apply it with a grout bag between each stone. Wipe off any grout that you put on with a damp sponge to smooth the joints once it has been applied.
Step 7: Clean and Seal the Wall
Once installation is finished, use a brush or a damp cloth to remove any excess adhesive or mortar from the stone surfaces. And be careful not to scratch or damage the stone.
If installing the stone exteriorly or in areas where moisture is common, as a precautionary measure, seal the stone with a stone sealant. It will help protect the stone from staining and weathering and will ensure that your beautiful new cladding will last you years to come.
Final Thoughts
Installing stone cladding is a rewarding project that will add significantly to the appearance of your home. It takes some time to get through the process, but it’s well worth it. Regardless of if you’re a DIYer or hiring a pro, these steps are a great way to make sure that you get a successful installation.
If you need high-quality stone for cladding or advice on stone products for your project, The Stone Evolution can supply a wide range of stone to fulfill every choice.


