
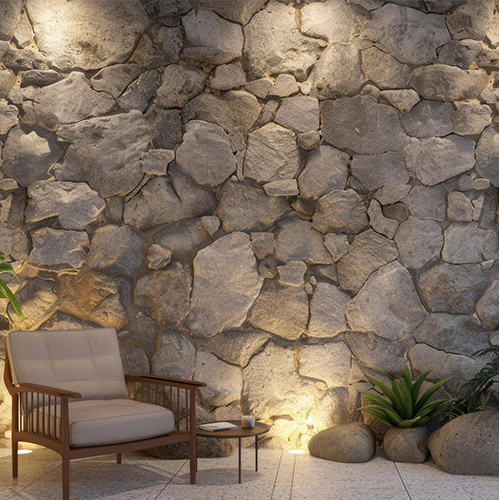
Real stone is the most common for use in creating natural feel on surfaces of walls whether inside or outside the building. It is stylish and classic; it is also enduring, thus works excellently as a centerpiece in homes, business buildings or even in a garden. Designing a home or building requires understanding of the right technique to secure Natural Stone Wall Cladding onto a wall so that it can serve its intended purpose for many years and at the same time give the desired aesthetics. This guide describes how it is done but if you are interested in fixing stone cladding to a wall here are the steps to follow:
Tools and Materials Needed
- Stone facing panels or stones
- Mortar (or the bonding material used for interiors)
- Trowel
- Spirit level
- Measuring tape
- Angle grinder or wet saw
- Wire brush
- Screws and bolts (for jointing)
- Waterproofing membrane for exterior walls
- Primer or bonding agent
- Grout
- Sponge and bucket
Step 1: Preparing the Wall Surface
The first and one of the most important stages of solving the problem with stone cladding is wall preparation. Make sure the wall is clean, dry, and free of dust. For exterior walls, inspect for cracks and fill them before applying the cladding. For interior walls, clean the surface from dust. If the wall is smooth, use a primer or bonding agent. For exterior walls, apply a waterproof layer to protect against moisture damage.
Step 2: Planning the Layout
Plan the layout before fixing the stones. Measure the wall and arrange the stone panels or tiles on the ground to visualize the final look. Combine different shapes and sizes in a random manner to create a natural appearance.
Step 3: Mixing the Mortar or Adhesive
For exterior stone cladding, use a mortar mix for its sturdiness. Follow manufacturer instructions to get the right consistency. For interior walls, use a heavy-duty tile adhesive. Prepare the mortar or adhesive in small batches to prevent it from drying out before use.
Step 4: Securing the Second Skin or Fixing the Finishing Cladding
Start at the bottom of the wall. Spread a layer of mortar using a trowel, place the first stone panel, and ensure it's level using a spirit level. Continue this process across the wall, making sure each row is level. For large stones or exterior cladding, mechanical fastening may be required. Use an angle grinder or wet saw to trim the stone panels where needed.
Step 5: Grouting and Finishing
After the cladding is secured, apply grout between the stones using a grout float. Select a grout color that matches the stone to make it blend in. Wipe off excess grout with a damp sponge before it dries.
Step 6: Sealing the Stone Cladding
Once the grout has set, apply a stone sealer to protect the cladding from moisture, dirt, and weather. Follow the manufacturer's instructions on applying the sealant.
Tips for Success
- Work in small sections to prevent the mortar from drying out too quickly.
- Use spacers to maintain even gaps between cladding panels.
- Wear protective gear like goggles and gloves when cutting stones.
- Ensure the wall is dry before applying exterior cladding.
Conclusion
Installing stone cladding enhances the appearance of any area, providing a natural and timeless look. By following these steps and using the right tools and materials, you can achieve a professional, long-lasting finish. At The Stone Evolution, we pride ourselves on offering the finest stone cladding options for your project.